Store setup, the three stock settings, categories, delivery fees, and the three ways to publish an item.
Setting up your storefront and publishing a product.
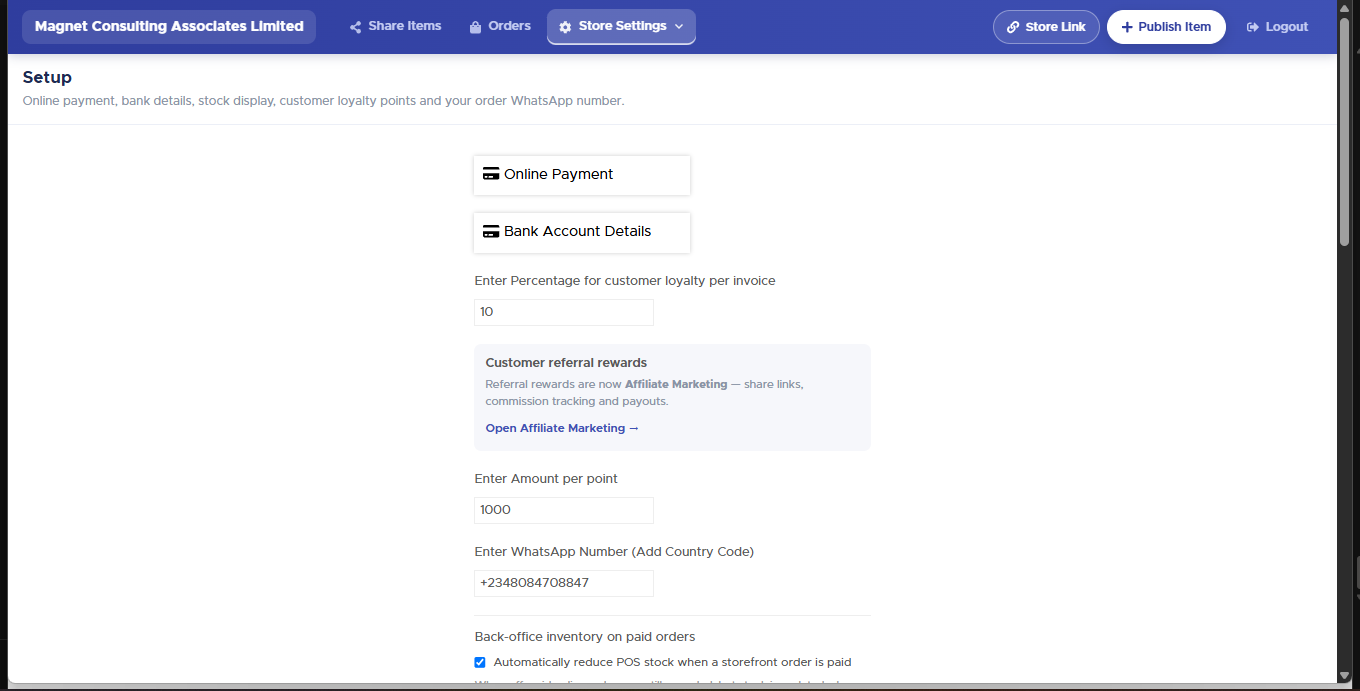
Store Settings → Setup — payment, loyalty, and how stock behaves online.
Open Wildfire from the sidebar. Do the one-time setup first: connect Online Payment (Paystack or Rave) and your Bank Account Details, and set your order WhatsApp number with the country code.
Stock setting
What it does
Back-office inventory on paid orders
A paid online order reduces POS stock automatically.
Prevent overselling
Blocks checkout when tracked stock would go below zero.
Show stock availability
Puts "In stock · N available" or "Out of stock" on each item.
These three are off by default because stock quantity isn’t tracked reliably for every item in every store. Get your quantities right first, then turn them on.
Create Item Categories and Delivery Fees before sharing your link — a customer who can’t find their area at checkout is a lost order.
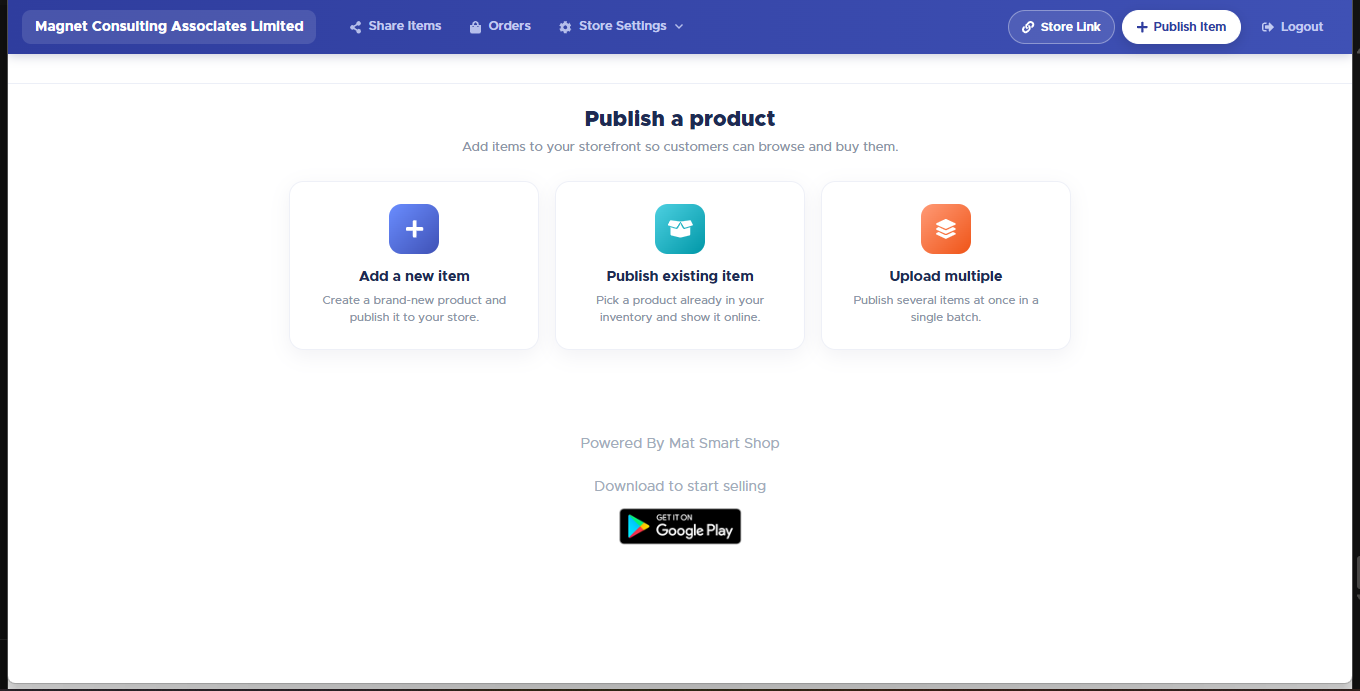
Publish a product — three routes onto your storefront.
Click Publish Item and pick a route: Add a new item (not in your catalogue yet), Publish existing item (already in your POS list), or Upload multiple (many products at once).
Fill in Display name, Category, Photos, Description and Price.
Tick Accept back orders if you want to keep selling it while out of stock, and set Minimum days to fulfil.
Optionally tick Email my customers or Send an SMS about this item to announce it at the moment you publish.
Back orders are set per item, not per store. The store-level "Remove out-of-stock items" setting does not apply to items marked back-orderable — they stay visible and orderable regardless.
Want to run a sale? Offers & Coupons (in the storefront top bar) puts items on offer for a set time, runs buy-2-get-1-free and bundle deals, and makes coupon codes. See the "Offers & Coupons" article.